1. Introduction
There’s a reason chicken teriyaki is a global favorite. It’s sweet, salty, sticky, and deeply satisfying — the kind of bold flavor that makes even simple ingredients shine. But why settle for takeout when you can make a healthier, tastier version at home in just 30 minutes?
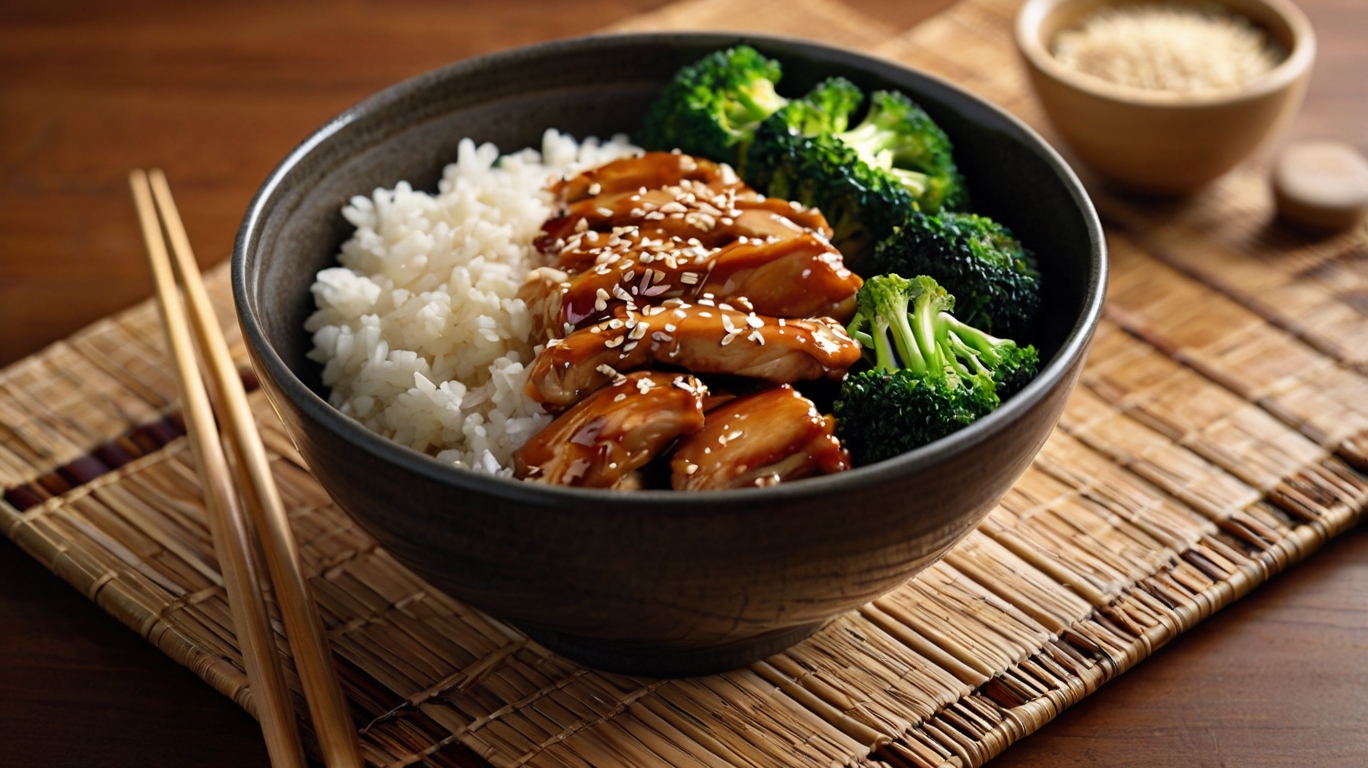
This Better-Than-Takeout Chicken Teriyaki Bowl brings together juicy chicken, glossy homemade teriyaki sauce, fluffy rice, and tender-crisp vegetables — all in one colorful bowl. It’s fast, affordable, and totally customizable.
Whether you’re feeding the family, meal prepping for the week, or just craving something savory and saucy, this is the go-to recipe you’ll come back to again and again.
In this post, you’ll get:
A no-fuss, flavor-packed 30-minute dinner
A sticky-sweet teriyaki sauce you can make from scratch
Easy meal prep instructions
Smart swaps for gluten-free or low-carb versions
Social media-ready visuals and SEO optimization
2. Why This Recipe Works
There are hundreds of chicken teriyaki recipes online — so what makes this one special?
It’s Truly Better Than Takeout
You control the sugar, salt, and ingredients — no MSG, no mystery sauces. And thanks to the homemade glaze, it tastes fresher and cleaner than anything you’ll get in a plastic container.
Homemade Sauce = Huge Flavor
Soy sauce, honey, garlic, ginger, and mirin (or rice vinegar) combine into a sticky, glossy glaze that clings to every piece of chicken. Once you make this once, you’ll never buy bottled again.
It’s Fast (But Doesn’t Taste Rushed)
With a simple prep process and minimal chopping, you can have this on the table in 30 minutes flat — with zero sacrifice in flavor.
It’s a Full Meal in One Bowl
Protein, rice, veggies — it’s all here. No side dish needed.
It’s Easy to Adapt
Swap rice for noodles or cauliflower rice. Use chicken breasts or thighs. Add your favorite veggies or keep it classic. This bowl is flexible by design.
3. Ingredients Overview
This Chicken Teriyaki Bowl requires just a few key ingredients to create bold, takeout-style flavor — all from your own kitchen.
Chicken
Use: Boneless, skinless chicken thighs (or breasts)
Why: Thighs stay juicy and tender when seared and glazed.
Tip: Cut into bite-sized chunks for faster cooking.
Soy Sauce
Use: Low-sodium soy sauce
Why: The savory foundation of the sauce.
Swap: Use tamari or coconut aminos if gluten-free.
Honey
Use: 2–3 tablespoons
Why: Adds sweetness and helps caramelize the sauce into a sticky glaze.
Garlic & Ginger
Use: Fresh minced
Why: The aromatics that build depth and umami in the sauce.
Rice Vinegar or Mirin
Use: 1 tablespoon
Why: Adds a mild tang to balance the sweetness.
Cornstarch
Use: 1 teaspoon mixed with water
Why: Thickens the sauce into that signature glossy coating.
Cooked Rice
Use: Jasmine or short-grain white rice
Tip: Use day-old rice for best texture.
Steamed Veggies
Use: Broccoli, carrots, or snap peas
Tip: Steam or sauté quickly to keep their bite and color.
Sesame Seeds (Optional)
Use: For garnish and texture
Tip: Toast slightly for a deeper flavor.
4. Step-by-Step Instructions
This recipe takes just 30 minutes and one pan — here’s how to make it:
Step 1: Prep the Ingredients
Dice the chicken, mince the garlic and ginger, and steam or sauté your veggies. Cook your rice or reheat leftovers.
Step 2: Sear the Chicken
In a large skillet over medium-high heat, add a tablespoon of oil and the chicken. Sear until golden brown and nearly cooked through, about 6–8 minutes.

Step 3: Add the Aromatics
Reduce heat to medium. Add minced garlic and ginger to the pan and sauté for 30 seconds until fragrant.
Step 4: Pour in the Sauce
In a small bowl, whisk together soy sauce, honey, and rice vinegar. Pour over the chicken and stir well.
Step 5: Thicken the Sauce
Mix cornstarch with 2 tablespoons of water, then pour into the pan. Simmer for 2–3 minutes until the sauce thickens and coats the chicken.
Step 6: Assemble the Bowls
Scoop rice into bowls, top with chicken, spoon over extra sauce, add steamed vegetables, and garnish with sesame seeds.

5. Tips & Tricks for Perfect Results
Even simple recipes like this can be elevated with the right techniques. Here’s how to make your chicken teriyaki bowl truly restaurant-quality:
Use Chicken Thighs for Juicier Texture
Breasts work too, but thighs stay tender and don’t dry out as easily — especially in high-heat searing.
Don’t Rush the Sear
Let the chicken cook undisturbed for the first few minutes to develop that golden crust. This adds rich flavor to the final sauce.
Use Low-Sodium Soy Sauce
Regular soy sauce can overpower the glaze with salt. Low-sodium keeps the flavor balanced, especially if reducing the sauce to a sticky finish.
Stir the Sauce Constantly While Thickening
To avoid clumps or uneven texture, keep stirring after adding the cornstarch slurry. The sauce will go from thin to glossy fast.
Garnish Wisely
Toasted sesame seeds, green onions, or a drizzle of sriracha or spicy mayo can turn this bowl into a gourmet-level experience.
6. Flavor Add-Ins & Variations
This chicken teriyaki bowl is a perfect base — but you can easily customize it with:
Veggie Add-Ins:
Sautéed bell peppers
Snow peas
Baby corn
Shiitake mushrooms
Roasted sweet potatoes
Protein Swaps:
Tofu or tempeh (pan-fried with the same sauce)
Shrimp (cooks faster; reduce sear time)
Ground chicken or turkey
Carb Swaps:
Noodles (ramen, soba, or udon)
Brown rice or quinoa
Cauliflower rice for low-carb diets
Sauce Twists:
Add chili flakes or sriracha for heat
Mix in pineapple juice for sweet-and-sour flavor
A splash of orange juice or zest adds brightness
7. What to Serve With It
This bowl is filling enough on its own, but here are a few optional sides that pair beautifully:
Miso soup or egg drop soup
Edamame with sea salt
Pickled cucumbers or radishes
Seaweed salad
Asian-style slaw with sesame dressing
Fresh fruit (pineapple, orange slices) for a refreshing finish
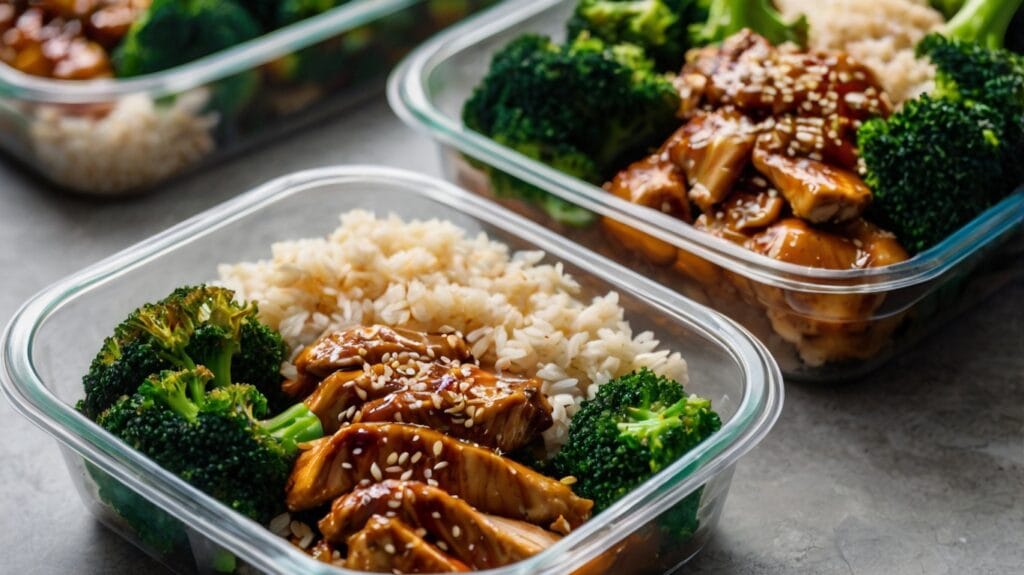
8. Meal Prep, Storage & Reheating
This chicken teriyaki bowl is ideal for batch cooking, weekday lunches, and fridge-friendly dinners. Here’s how to make the most of it:
🥡 Meal Prep Tips
Double the recipe: It scales easily without changing cooking time — great for prepping 4–6 portions in advance.
Use glass containers: Keeps the chicken fresh and prevents the sauce from staining.
Separate the elements (optional): For best texture, store rice and chicken separately from veggies if prepping for more than 3 days.
❄️ Storage
Refrigerator: Store in airtight containers for up to 4 days.
Freezer: Chicken teriyaki (without rice or veggies) freezes well for up to 2 months. Defrost overnight in the fridge.
🔥 Reheating Instructions
Microwave: Reheat in 60–90 second intervals. Add a spoon of water over the rice to prevent drying.
Stovetop: Reheat chicken in a covered skillet with a splash of water or broth for moisture.
Avoid overcooking when reheating — it may dry out the sauce or over-soften the veggies.
9. Nutrition Notes & Substitutions
This dish is a well-rounded, macro-balanced meal — high in protein, moderate in carbs, and customizable for any dietary need.
⚖️ Approximate Nutrition (Per Serving)
Calories: ~490
Protein: 38g
Carbs: 45g
Fat: 15g
Fiber: 3g
Sugar: 10g
Sodium: 900mg (adjust based on soy sauce)
Note: Actual values will vary depending on ingredients used and serving size.
🍽️ Lighter or Specialized Versions
Gluten-Free: Use tamari or coconut aminos instead of soy sauce.
Low-Carb: Swap rice for cauliflower rice or sautéed cabbage.
Lower Sugar: Reduce honey to 1 tablespoon and add more garlic/ginger for flavor.
Dairy-Free: Naturally dairy-free as written — no changes needed.
Vegetarian/Vegan: Use tofu or tempeh and follow the same sauce and cooking process.
10. Frequently Asked Questions (FAQs)
Can I use chicken breast instead of thighs?
Yes! Chicken breasts are leaner and cook slightly faster. Just be careful not to overcook them or they may dry out.
Is this recipe gluten-free?
Not by default, but it’s easy to make it gluten-free by swapping soy sauce with tamari or coconut aminos.
Can I freeze the chicken teriyaki?
Yes. The glazed chicken freezes well for up to 2 months. Freeze it separately from rice and vegetables for best results.
Can I add spice to the sauce?
Absolutely. Stir in red pepper flakes, sriracha, or a dash of hot sauce while the sauce simmers.
Can I make it without cornstarch?
Yes, but the sauce will be thinner. For an alternative, try arrowroot powder or just simmer longer to reduce the sauce naturally.
How long will it last in the fridge?
Up to 4 days in airtight containers. It’s one of the best make-ahead recipes for weekday lunches.
What veggies go best with this?
Broccoli, snap peas, carrots, and bell peppers all work great. You can even use frozen stir-fry blends to save time.
11. Chef Aiden’s Tips
“The secret to restaurant-quality teriyaki is caramelization. Let the sauce thicken until it coats the chicken like syrup — glossy, sticky, and deep in color. Don’t rush it. Medium heat is your best friend.”
“For bonus flavor, toast the sesame seeds before adding them. And if you want to go gourmet, finish the bowl with a splash of toasted sesame oil or a soft-boiled egg.”
12. Related Recipes
Explore more better-than-takeout favorites:
Garlic Butter Shrimp Pasta – Sweet, savory, and fast
Creamy Chicken Pesto Pasta Salad – Meal prep magic in 20 minutes
15-Minute Lemon Butter Orzo with Spinach – A bright vegetarian winner
13. External Resources
Learn how to make perfect steamed rice every time – Just One Cookbook
Serious Eats Teriyaki Sauce Guide – Trusted breakdown of balance & technique
Soy Sauce Guide – Bon Appétit explains the difference between types of soy sauces
14. Final Thoughts & Save It CTA
This Better-Than-Takeout Chicken Teriyaki Bowl isn’t just a recipe — it’s your new weeknight go-to. Fast, flavorful, and full of bold, sticky-sweet goodness, it satisfies cravings without ever needing delivery.
Save it, pin it, and add it to your meal prep rotation — you’ll want this one on repeat.